

How To Change Hair Color To Black In Photoshop
Ever wondered what you'd look like if you dyed your hair? Using Adobe Photoshop, you can find out without ever having to reach for the bleach.
At that place are filters on Tiktok, Instagram, and Snapchat that allow anyone to preview what they'd look like with a particular hair color. If you've ever longed for cotton candy streaks, desired a dear brown tint, or considered blonde highlights, your phone can probably requite you a pretty adept estimation of your potential new 'practice. Unfortunately, though, these video filters are unremarkably poor in quality. You might take even wondered if there was a style to create the same result yourself.
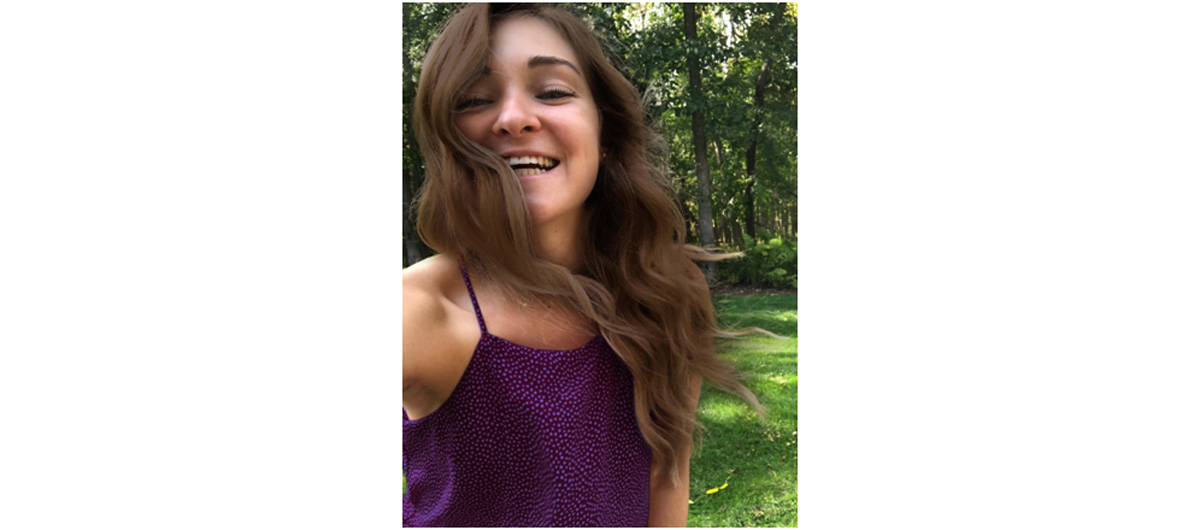
And there is, as is normally the answer when it comes to Photoshop! Although it won't await as accurate equally your actual pilus, this tutorial will assist you change your pilus color in any of your photos. It works best on hair that has a clear edge, every bit shown below.
 The hair on the left side would be a fleck more difficult to use for this tutorial, since it doesn't have a articulate edge and contains some frizzy flyaway pieces. The hair on the right would be super easy to use.
 How to Change Pilus Colour in Photos
- Open your image in Photoshop and duplicate the layer.
It'due south best practise to always continue a re-create of your original photo somewhere in the Photoshop certificate, in case you need to redo any steps later. In this tutorial, though, it'due south also essential for keeping the non-edited parts of the photo intact. - Create a mask of the hair—and edit it.
In that location are probably hundreds of ways to cut out a slice of an image in Photoshop—you can see a full guide to making cutouts here. If yous accept your own preferred method, feel costless to deviate from the following instructions and skip to stride 3.Standard method: If you lot want to walk through the process, commencement by using the polygonal lasso tool to draw a crude shape around the pilus. So, click the mask icon
 in the layers console. If y'all click the eyeball abreast your background layer, you lot might notice that the only thing yous tin see at present is the hair! If so, you have successfully created a mask. Anything y'all draw on this mask (shown in the layers panel as a black and white square to the correct of the layer) in black will disappear, and anything you depict in white will be visible. To edit the mask more than closely, become in with a small brush of medium softness and draw black on the parts yous don't want until the hair is floating on its own in the transparent background checkerboard.
 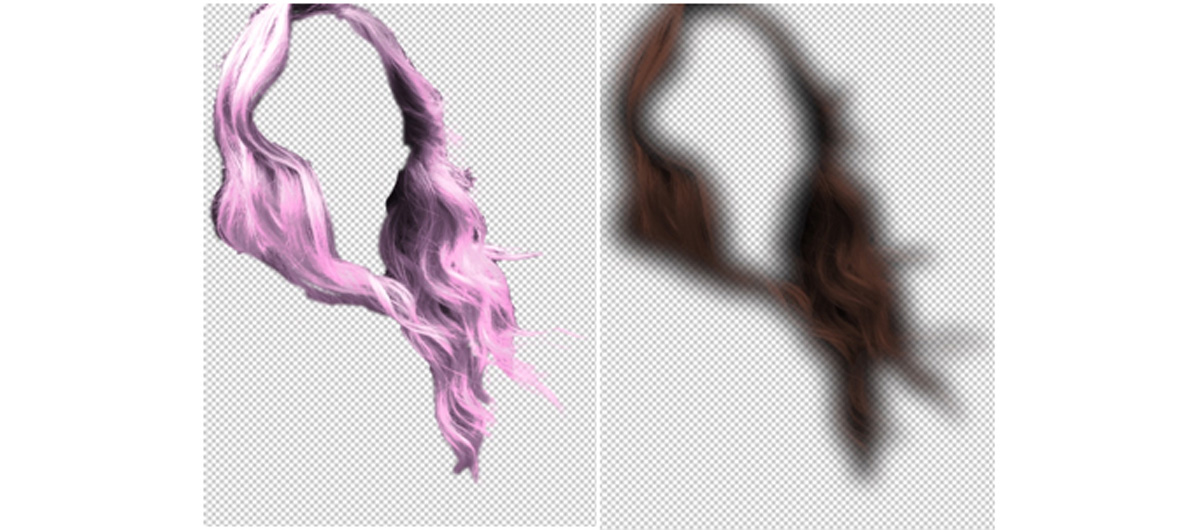 Depending on the photo, you might want a precipitous edge to your mask—or something softer. Generally, lite colors and pastels work better with something precise while colors closer to your natural one will be more realistic with a feathered mask.
One time you've formed your mask, you lot can double click on information technology to edit the mask's smoothness, fade, and dissimilarity. You tin besides shift the outline of the mask further or closer using the "shift edge" controls. I have found that, when dying your pilus to be lighter or more vibrant, you demand a more precise mask to bring the effect out to all those edges. When making your hair darker, the last issue usually looks more realistic with a soft mask. Of course, these aren't hard and fast rules. Feel gratis to revisit this footstep and mess around with the mask options after you lot've "colored" the hair, since information technology's frequently easier to run into when you're working on top of your original photo. - Use the "colorize" tool to dye the hair.
Once your mask is prepared, click on the image of that layer. Open the Hue/Saturation window nether Paradigm > Adjustments. In here, click the "colorize" button on the bottom of the pop-up and drag the sliders until you find your desired hair color. You might find that you have to get in duller or darker than you expected in order to wait natural in the photo. - Edit the mask to be more realistic.
Now it's time to plow on your original photograph layer and see how it looks! Often, information technology volition look pretty jarring—and you'll have to go back and edit a few things. In the photo below, I noticed that there was some teal hair dye on my brow that needed to be removed. The mask itself was also too sharp, a dead giveaway that the photograph was edited. To fix these problems, I cleaned around the mask with a brush tool and went dorsum into the mask options window to increase the plume.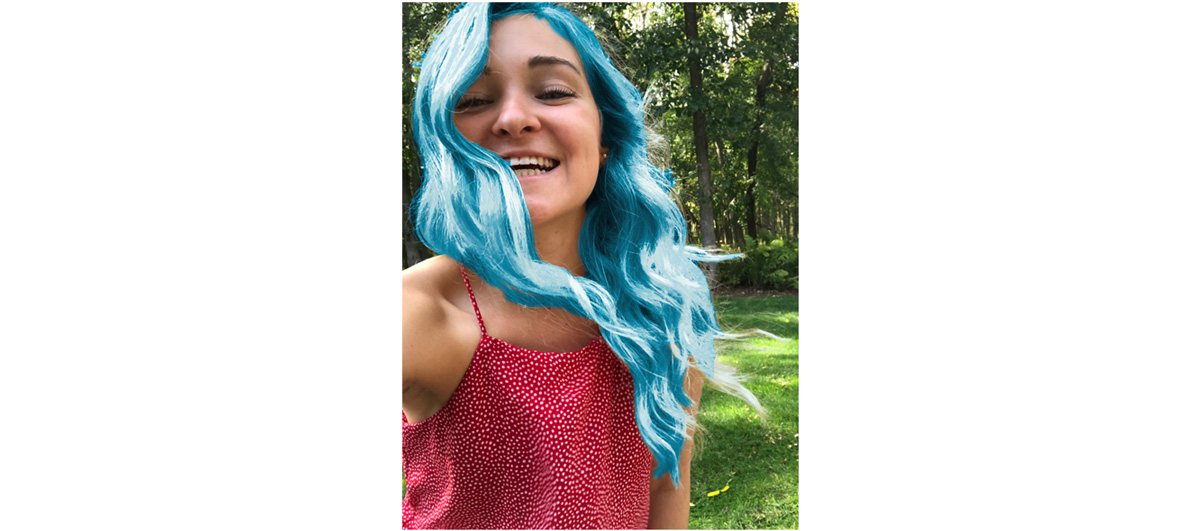 This mask isn't perfect—which is why it's very of import to zoom in and edit!
If you loved this tutorial, and then you can play effectually with altering other things, too—changing your shirt color, your eye color, etc. And if y'all're still thinking about the Snapchat filter that dyes your hair for you? Endeavor this tutorial for creating your own Snapchat filter.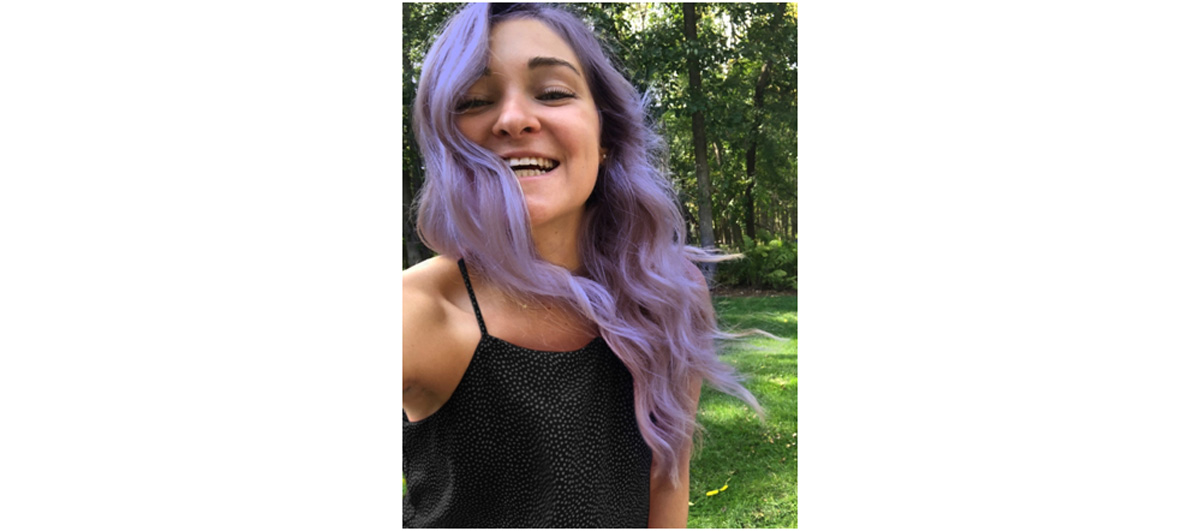
 Why finish at just pilus? Alter your outfit, as well!
Are you a current student? Meet how you can save over 60%.

Source: https://makeitcenter.adobe.com/blog/change-hair-color-in-photos.html
Posted by: truesdalehimat1991.blogspot.com
0 Response to "How To Change Hair Color To Black In Photoshop"
Post a Comment